Blown Away: The Five-Step Professional Method for a Salon-Quality Blowout That Actually Lasts
There is a particular kind of confidence that comes with a freshly executed salon blowout. The hair moves differently. It catches light at angles that seem almost architectural. And it holds—sometimes for the better part of a week—in a way that no rushed at-home attempt quite manages to replicate. If you have ever wondered what exactly accounts for that gap between a $60 professional blowout and your Sunday-morning DIY version, the answer is not the dryer alone. It is method.
At Hair Bar Professional, we believe that understanding the craft behind a service makes you a better client and, for those who choose to practice at home, a more capable stylist of your own hair. What follows is a detailed breakdown of the five-step professional blowout technique—the same sequence that trained stylists execute every day in salons across the country.
Before You Begin: The Right Tools and Products Make Everything Possible
No technique, however refined, overcomes the limitations of inadequate equipment. Professional stylists work with dryers rated at a minimum of 1875 watts with ionic and ceramic technology—these specifications are not marketing language. Ionic dryers emit negatively charged ions that break down water molecules faster and seal the hair cuticle, reducing frizz and drying time simultaneously. Ceramic barrels distribute heat evenly, preventing the localized hot spots that cause damage and uneven texture.
For the round brush, size is determined by the desired result and the length of the hair. A one-inch barrel creates volume and movement at the roots on shorter hair. A two-inch barrel is the workhorse for medium-length blowouts, offering smooth tension and controlled bend. A three-inch barrel is suited to longer hair where sleekness and weight are the primary goals.
On the product side, the professional protocol typically calls for three formulas applied in deliberate sequence: a heat protectant, a volumizing or smoothing mousse or cream (selected based on the client's hair type), and a finishing serum or oil applied post-dry. Each product serves a distinct structural purpose, and layering them correctly is as important as the application technique itself.
Step One — The Prep Wash
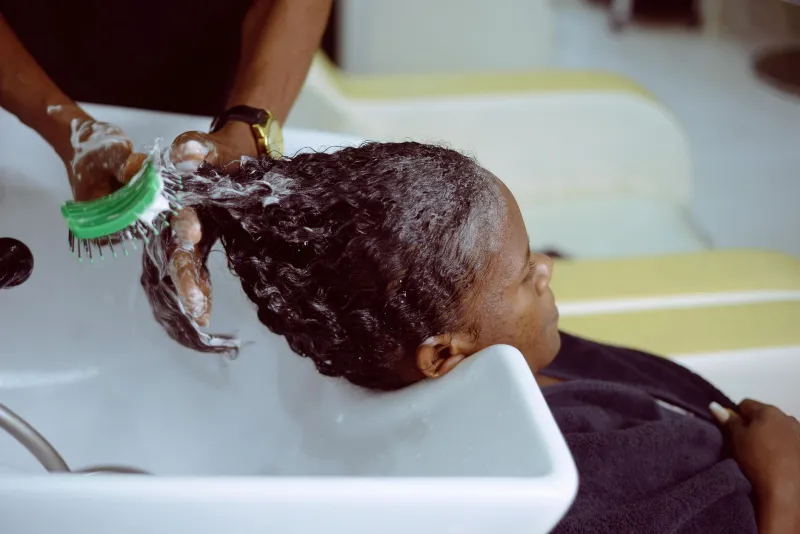
A professional blowout begins in the shampoo bowl, not at the styling station. The type of shampoo used matters: a clarifying or volumizing formula removes residual buildup that would otherwise weigh the hair down and shorten the longevity of the style. Stylists condition mid-shaft to ends only, deliberately avoiding the roots to prevent early collapse at the crown.
At home, replicate this step by washing your hair the same day you plan to blow it out—never the day before. Blowouts performed on hair that has partially air-dried lose the precise control that comes from working with freshly washed, uniformly damp strands. After rinsing, gently squeeze excess water from the hair with a microfiber towel. Avoid rubbing, which roughens the cuticle and introduces frizz before the dryer is ever turned on.
Pro tip: Blot, do not rub. That single adjustment makes a measurable difference in the final finish.
Step Two — Strategic Product Application
With hair approximately 80 percent dry from the towel, stylists apply heat protectant first—distributed evenly from roots to ends using a wide-tooth comb to ensure full coverage. This step is non-negotiable. Direct heat applied to unprotected hair compromises the cuticle layer and leads to the kind of dryness and breakage that no subsequent product can fully reverse.
The volumizing or smoothing product is applied next, worked through the mid-lengths and ends. For fine hair, a lightweight mousse adds body without weight. For thick or coarse hair, a cream-based smoothing formula provides the slip needed to work through sections efficiently and the hold needed to maintain the shape under tension.
At home, resist the temptation to apply both products in excess. Over-application creates buildup that accelerates oil production at the roots and shortens the life of your style by at least a day.
Step Three — The Pre-Dry Phase
This is the step most commonly skipped in DIY attempts, and its absence accounts for a significant portion of the quality gap. Before sectioning and round-brushing, professional stylists pre-dry the hair to approximately 70 to 80 percent dryness using the dryer on medium heat with a diffuser attachment or no attachment at all. The hair is lifted at the roots and dried in a rough, directional manner—encouraging the natural movement of the hair and beginning the process of volume creation at the crown.
The pre-dry phase serves two critical purposes. First, it reduces the amount of time the hair spends under direct, concentrated heat during the styling phase, which minimizes damage. Second, it makes sectioning significantly easier and allows the round brush to move through the hair with controlled tension rather than fighting against excess moisture.
At home: Divide hair into four sections—two in front, two in back—secured with clips. Pre-dry each section until it feels mostly dry to the touch, then begin the round brush phase.
Step Four — The Section-and-Roll Technique
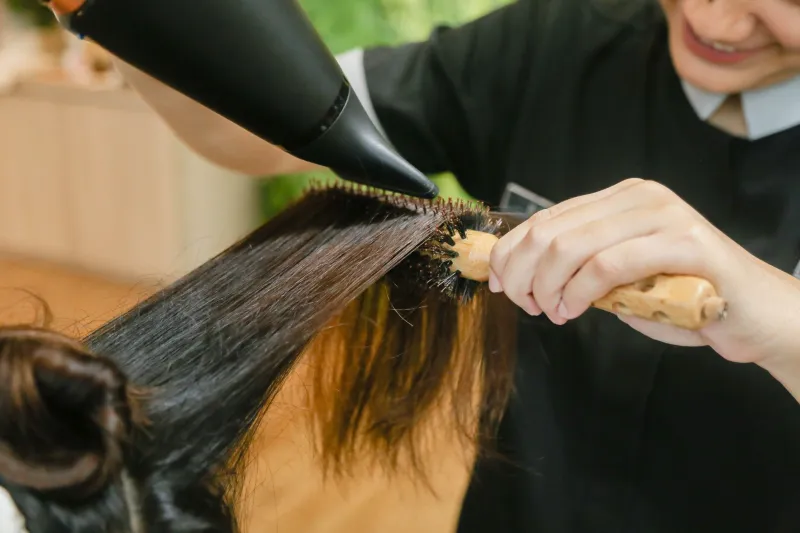
This is where the blowout is made. Working from the nape upward—always from underneath—the stylist releases a section of hair no wider than the diameter of the round brush. The brush is placed at the roots, tension is applied downward, and the dryer follows the brush from root to tip in a slow, deliberate pass. The brush is then rolled under at the ends to create bend, held for a moment under direct heat, then released.
The key variables here are tension and heat direction. The nozzle of the dryer should always point downward along the hair shaft—this seals the cuticle and produces that glassy, reflective finish that defines a professional result. Heat directed upward opens the cuticle and creates frizz.
For volume at the roots, the brush is directed upward and the hair is held in that position under heat, then allowed to cool before the brush is removed. Cooling under tension is what sets the shape—releasing the brush while the hair is still warm eliminates the volume almost immediately.
Common mistake: Moving too quickly through each section. Slow, deliberate passes produce smoother, longer-lasting results than fast, repeated strokes.
Step Five — The Finish and Set
Once every section has been styled, the blowout is set with a cool shot from the dryer. Switching to the cool setting and directing air over the entire head for thirty to sixty seconds locks the cuticle closed and significantly extends the longevity of the style. This single step, which takes less than a minute, is responsible for much of the staying power that distinguishes a professional blowout from an at-home attempt.
Finishing product—a lightweight serum, a few drops of hair oil, or a shine spray—is applied last, distributed through the palms and smoothed lightly over the surface of the hair. This step adds the reflective quality that makes a blowout look polished rather than simply dry.
For maintenance through the week, a silk or satin pillowcase reduces friction overnight. Dry shampoo applied at the roots on day two or three refreshes volume without disturbing the style. A loose braid or low bun preserves the shape between washes.
The Takeaway
A professional blowout is a disciplined, sequential process—one that rewards patience, proper tools, and respect for the order of operations. Whether you are recreating this technique at home or simply arriving at your next salon appointment with a clearer understanding of what your stylist is doing and why, the five steps outlined here represent the professional standard.
At Hair Bar Professional, we believe that an informed client is an empowered one. The more you understand about the craft, the more you can appreciate the expertise behind it—and the more effectively you can maintain your results between visits.